Well yesterday I got sidetracked with a friend coming from Perth and taking husband to the doctors, so I didn't get to touch the drawing.
This is the ending result of Day 1
I finished the "C" strokes of the ribbed band, discovered a buckle and strap along it and filled in the brim. I used the B pencil to start the shaping of brim and added contour with the 9B pencil.
Start of Day 2:
I started definition of eyes, brows and beginning shadows for depth around the face. Using the 2H pencil I being picking where I want to add the shadow and lines of the face. The eye is the most important role so must be dealt with carefully. This gentleman has very light blue eyes that should command the portrait.
I used the 2H and B pencils to contour the shadows for shape, not going too dark until the finishing touches. They pupil begins with a light touch for colour with 2H then B for making the outline and pupils. Do not start the lashes until you are satisfied with the shading. I then used a 6B pencil for initial layout of eyelashes and adding more contour around the socket shadow, finishing with a 9B for depth and darkness.
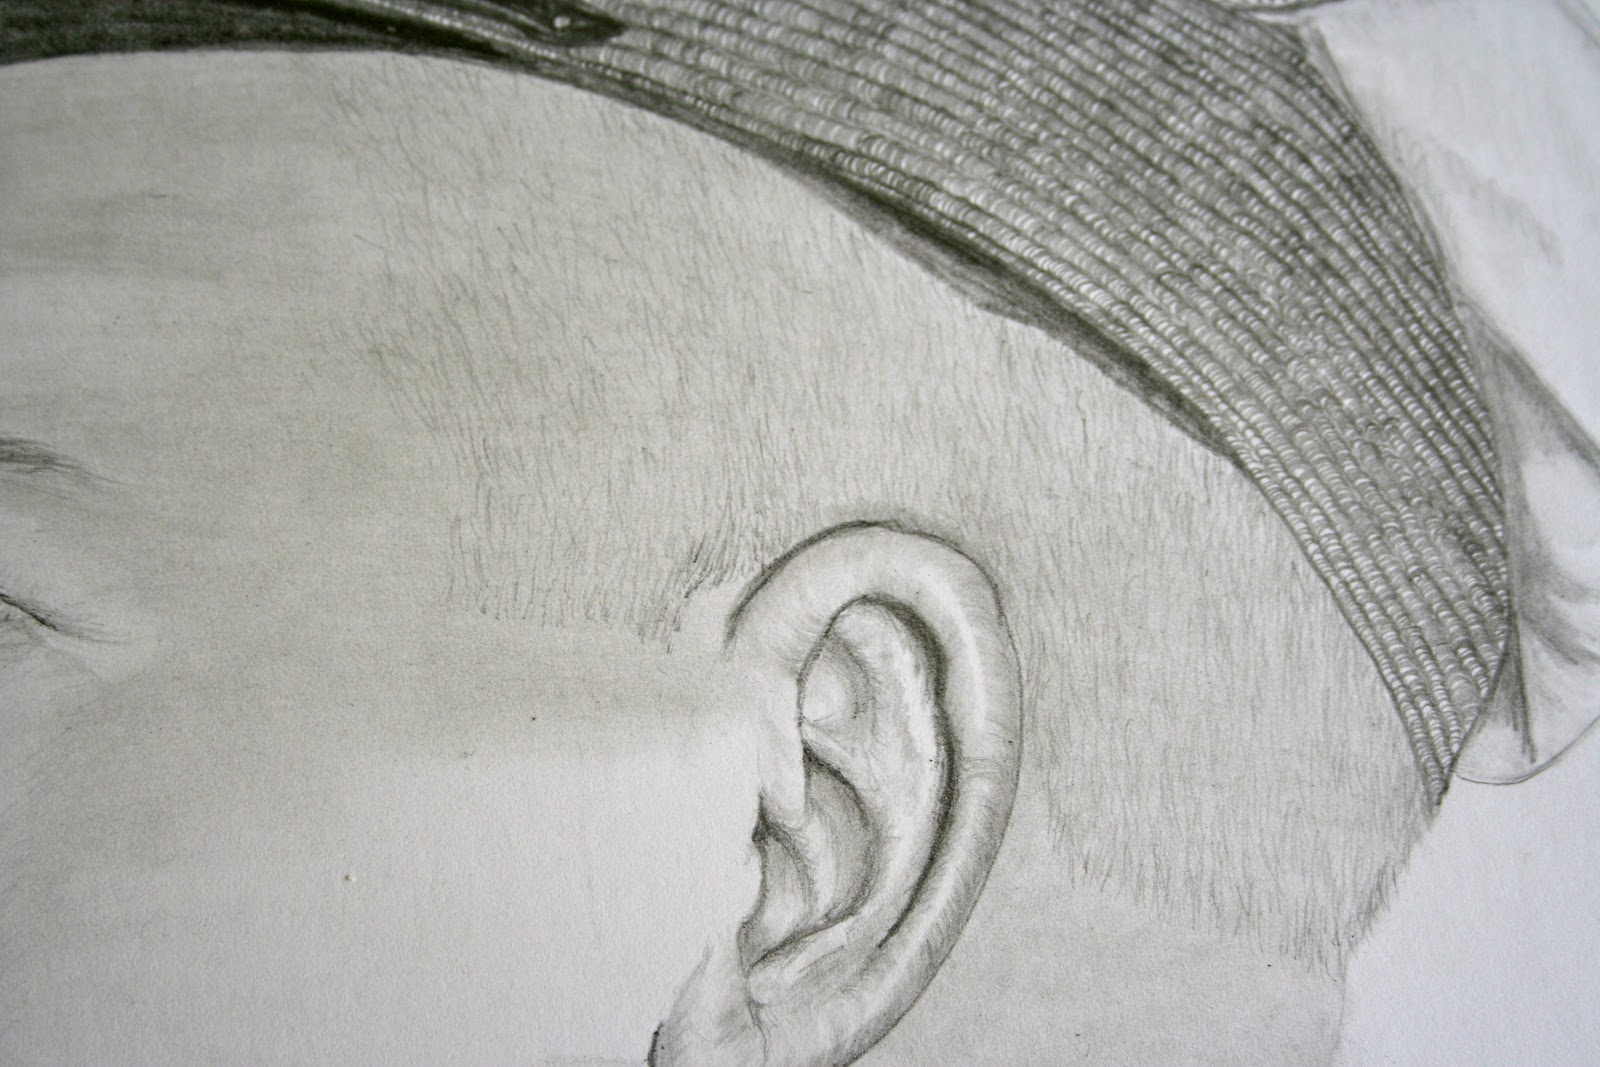
Next I build up the shape of the ear using the same pencils and "C" strokes for curves. I blend with paper stump to fill in all colour and keep building until I am satisfied withe the definition. I do all this by trail and error judgement of my lines and shadows. The smooth Bristol paper being used is forgiving of colour, but do not press to hard for dents in the paper that will make white lines the graphite is missing.
Next start building shadows of the skin colour for hair and forehead. If hair is begun before a base effect is established you loose all the strokes you do for hair. Using the 2H I continue to softly add graphite then blend until I achieve the colour of the skin in this area. Pay attention to how the shadow of the hat brim curves around the forehead and light falls directly on the frontal features.
Now take the HB pencil and lightly lay short "X" strokes in various places where the hair lies. Pay attention to where the hair line directions are, and ends at sideburns, neck etc. Do not layer to deeply for beginning, this is just a base hair definition. This gentleman's hair is not thick in most areas so the lines will be further spaces and hair shafts are short so they will be dealt with in short strokes.
Once you have the base hair layout then look for where the hair is thickest for more defining strokes and build up. This section will take a few hours to complete then I will use 2B pencil for added shadow definition and distinction.
Hopefully I will get the hair done and start shadowing the mouth, chin and neck today. Husband is home throwing up and son is off work. If they know what is good for them they will leave me alone most of the day. I will keep track if I get further than these steps and list them tomorrow.